Do you need a passport photo that looks like it was taken by a professional, but you don’t have a photographer or specialized equipment on hand? The secret to getting this result may be in your Pixel smartphone. You can find out how, with tips from Michael Specht, professional photographer and Product Manager at Pixel Camera.
1. Ideal look and the perfect stage
The first step is to choose your outfit and the expression that best represents you. Michael Specht advises avoiding accessories that can distract attention, such as sunglasses or headphones, and opting for a smile or a natural expression. Furthermore, a good contrast between you and the background is crucial, which must be simple and solid in color, so that you are the true star of the photo.
2. The right light to shine
Natural lighting is your best ally in this process. Michael recommends taking photographs near a window or outside, but always with indirect light, to avoid unwanted shadows and ensure pleasant, diffuse lighting. The Pixel’s Real Tone feature comes in handy. It automatically adjusts white balance and brightness for faithful reproduction of all skin tones.
3. With help or alone?
Whether you prefer to have someone help you or decide to take a selfie, the Pixel is equipped for both situations. Using the rear camera is ideal to ensure the highest image quality, but if you’re alone, don’t be discouraged: you can use a self-timer or the selfie camera to get better results.
4. The art of framing
Framing the photograph correctly is essential. Pixel makes this step easier with the Grid Type feature, allowing you to position your face and upper body in a balanced way in the image.
5. Choose the right mode
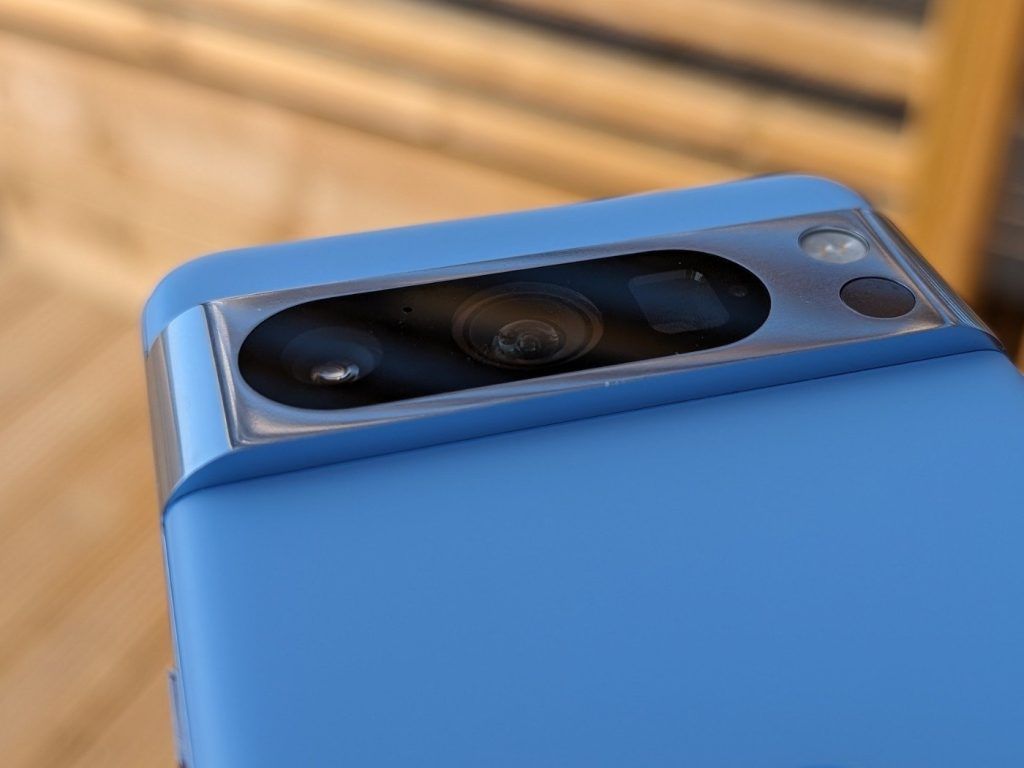
While Portrait mode is tempting, Michael suggests using Photo mode for this type of photography, especially if you’re using a solid background. And for owners of a more advanced Pixel, exploring the capabilities of the telephoto lens may be a good idea to capture a more traditional focal length and avoid distortion.
6. Moment of Truth
After choosing the location, adjusting the lighting and framing the photo, it’s time to capture your image. Don’t forget to take several photos, experimenting with different expressions and angles, to ensure you end up with a photo you really like.
7. Masterful finishing touch
If you feel the need to tweak your photo, Google Photos offers editing tools for both amateurs and professionals, allowing you to improve your image with ease. Experimentation is the key to finding the perfect look you want to project to the world.
By following these simple steps, you’ll be well-equipped to create a passport photo that not only represents you in the best light, but also looks like it was taken by a professional.
4gnews had the opportunity to test the latest Pixel, available in Portugal. If you want to know more details about the cameras and equipment in general, you can check out the reviews below in more detail:
Tags: professional passport photos Google Pixel
--


